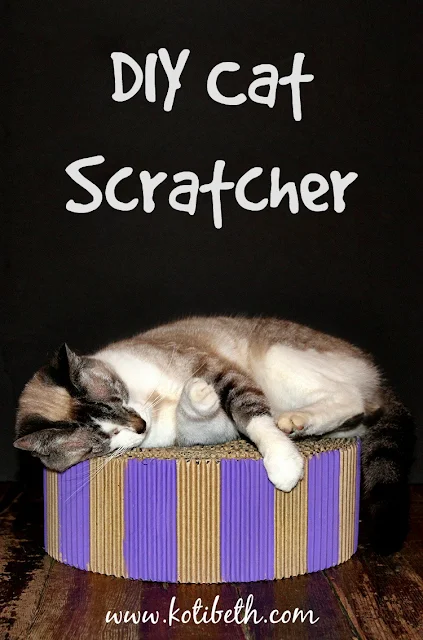
Neither of my cats are declawed. While they will scratch sometimes, it hasn't been an issue on our furniture. Chloe, my son's cat, does like to scratch more than Carly does. Our homeschool room is in the basement, and Chloe likes to hang out down there with the kids during the day. I made her this DIY cat scratcher so she has something to scratch on and sleep on while she's downstairs. Even though it's not soft and padded, she doesn't seem to mind it.
DIY Cat Scratcher
We inherited a large--I'm talking 5 feet long and 3 feet high--roll of corrugated cardboard. I used it for shipping when I sell on eBay or Etsy, but I don't think I will use it up in my lifetime. I used that for this scratcher bed, and it worked perfectly! You could also use strips of cardboard from shipping boxes.
None of my cats are declawed, so they like to use cat scratchers to scratch their claws on. I made this one big enough for them to lay on, and sometimes they use it as a bed instead of a toy.
To make a cat scratcher, you'll need:
- 4" strips of cardboard (I used corrugated cardboard)
- Scissors
- Marker
- Yardstick
- Glue gun
I marked off 4" inch lines and used the ruler and marker to make long cut lines on the cardboard. I cut about 8 strips that were about 4 feet long.
Then just start rolling. I used hot glue to keep the cardboard from unraveling. I didn't glue the entire thing; I just spread some glue every 8-10 inches to give it a little support.
When you finish with one strip of cardboard, glue the next one to the roll and keep going. And going. And going. When it's the size that you want it to be, just glue the end in place and hold securely until the glue sets up.
Your strips of cardboard will never be perfectly straight, so just keep one side as straight as you can while you're rolling it. The other side will be bumpy, but it will rest on the floor okay.
I painted stripes in purple paint because I have to paint everything, and Chloe likes purple.


